TheWinz
TheWinz
Shark Pool #3 FBG Home League
Want a Spicier Take? Need a Little Encouragement? Try Changing the Tone of your Report!
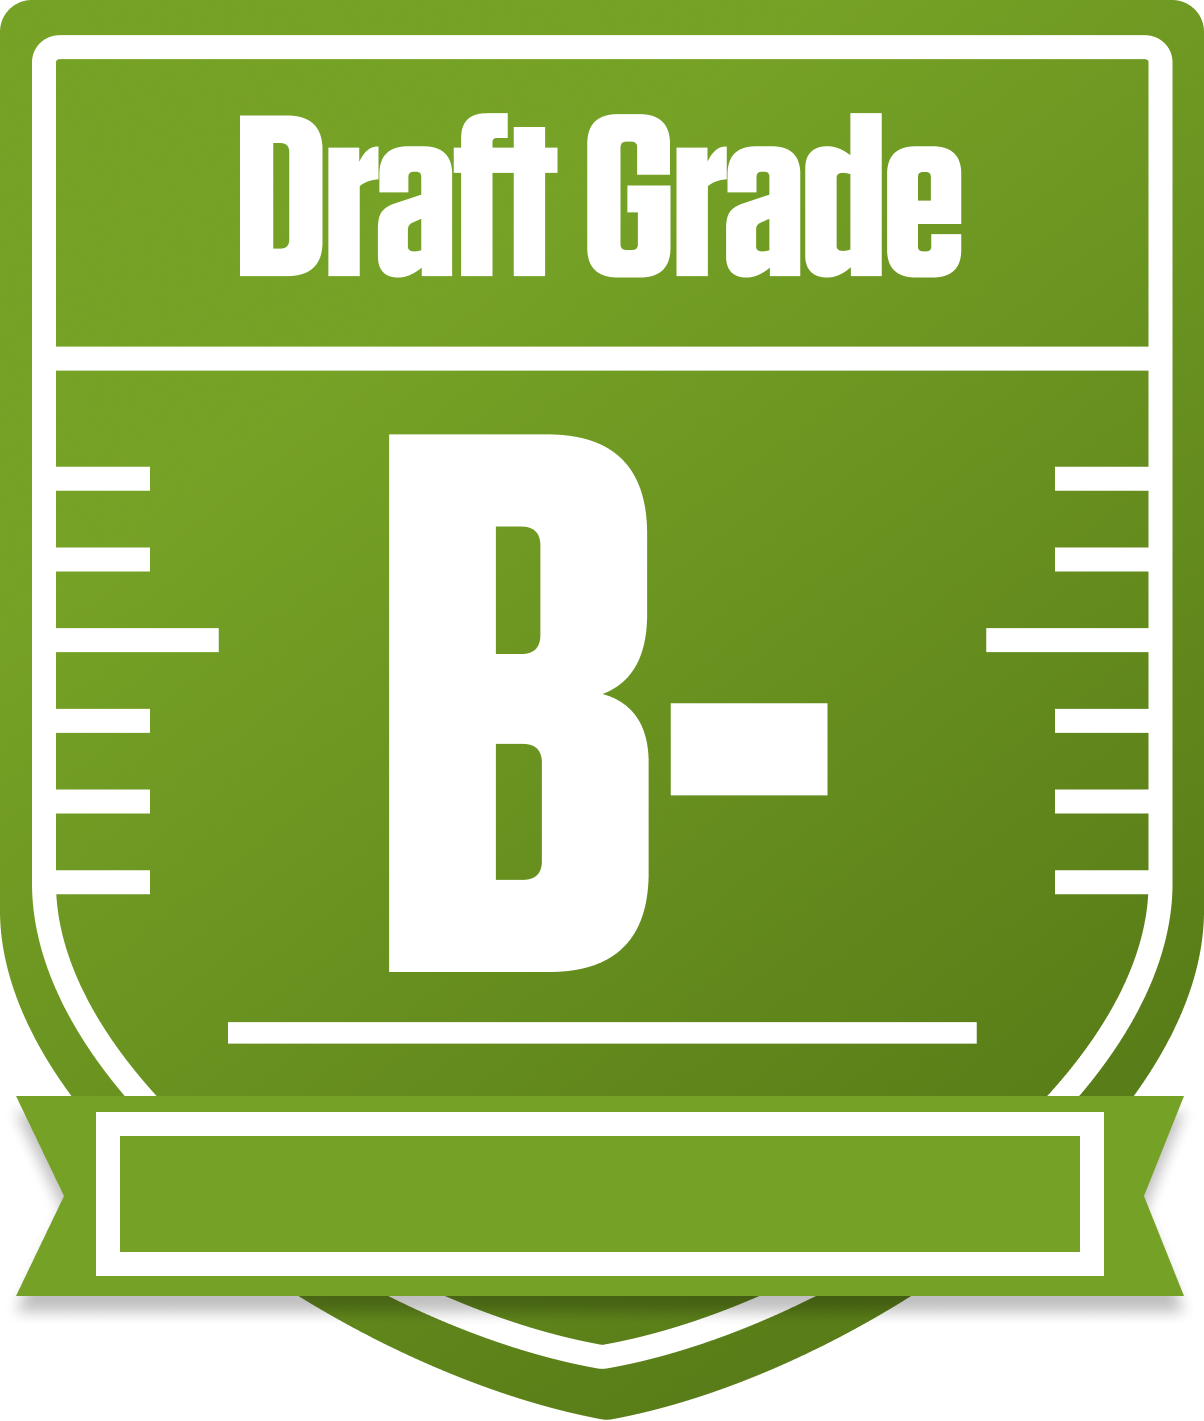
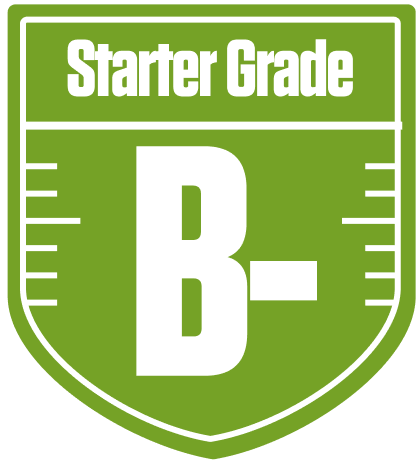
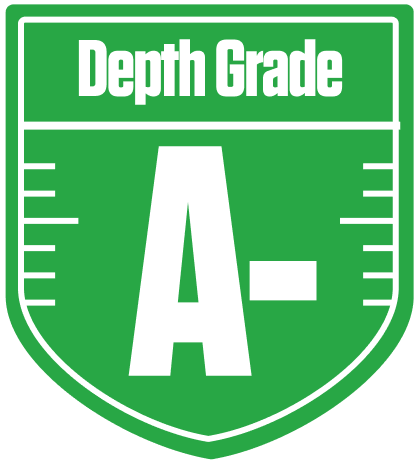


TheWinz Draft Report Card - Shark Pool 3 FBG Home League Breakdown
Howdy, TheWinz! You’ve put together a solid B- grade squad in this 12-team full PPR redraft league, and that’s no small feat. Your team shows a nice balance between a strong starting lineup and a bench that can really come through when called upon. With a projected overall point total north of 240, you’re definitely in the hunt for a playoff spot, with your chances hovering around the mid-40s to high-50s percentile depending on how things shake out.
This league’s standard setup with one QB, two RBs, two WRs, one TE, and three flex spots means depth and flexibility are key. You’ve got a standout WR group leading the charge, but some RB and TE concerns that could trip you up if injuries strike. Your QB room is deep, which is a luxury in a non-superflex format, giving you options and trade leverage.
We’ll dive into your team’s strengths, weaknesses, and strategic moves to help you maximize your playoff push. From bye week clashes to potential waiver wire pickups, this report will spotlight what’s working and what needs attention. Let’s get into the nitty-gritty and see how TheWinz can turn this promising draft into a championship run!
Your Grades By Position
Quarterback


Running Back


Wide Receiver


Tight End


Team Defense


Quarterback


Running Back


Wide Receiver


Tight End


Team Defense


Playoff Chances
{"type":"doughnut","data":{"labels":["Make the Playoffs","Miss the Playoffs","Make the Playoffs","Miss the Playoffs","Make the Playoffs","Miss the Playoffs"],"datasets":[{"label":"Great Management","data":[67,33],"backgroundColor":["#3b82f6","#6c757d"],"borderWidth":3,"borderColor":"#fff"},{"label":"Good Management","data":[57,43],"backgroundColor":["#22c55e","#6c757d"],"borderWidth":3,"borderColor":"#fff"},{"label":"Average Management","data":[46,54],"backgroundColor":["#fbbf24","#6c757d"],"borderWidth":3,"borderColor":"#fff"}]},"options":{"responsive":true,"maintainAspectRatio":false,"backgroundColor":"transparent","cutout":"40%","plugins":{"legend":{"display":false},"tooltip":{"enabled":true,"backgroundColor":"rgba(0,0,0,0.8)","titleColor":"#fff","bodyColor":"#fff"}},"elements":{"arc":{"borderWidth":3,"borderColor":"#fff"}}}}
Position Upside Potential
Breakout potential by position - more stars indicate greater upside opportunity